Getting Started
Everything you need to provision your dedicated node and connect it to Schwab's trading API.
- Provisioning takes minutes
- No AWS account needed
- Schwab keys stay on your node
Three steps to a live trading node
-
1
Subscribe & provision
Pick a plan, then provision your dedicated node from the dashboard.
-
2
Connect Schwab
Register a developer app with Schwab and drop your Client Key/Secret into your node's settings.
-
3
Manage & monitor
Use your node's Details, Settings, and History tabs to keep it running.
The full walkthrough
Subscribing, provisioning, and connecting Schwab - captured straight from the real dashboard.
- 1 Subscribe to a plan
- 2 Provision your node
- 3 Connect your Schwab developer app
- 4 Trade on your own subdomain
Provisioning your node
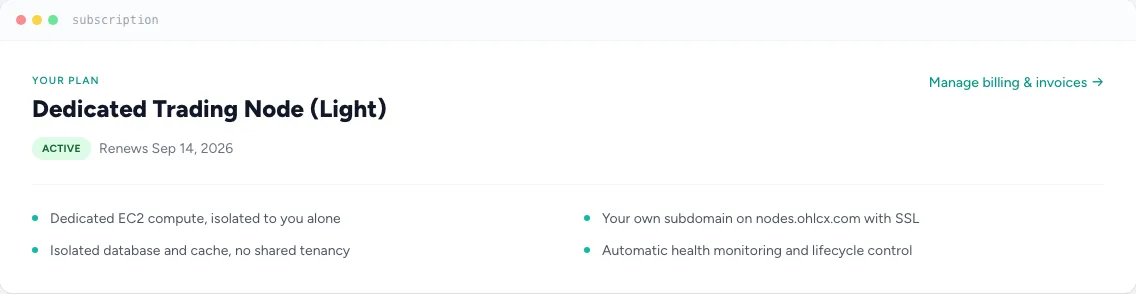
- Subscribe to a plan from your dashboard. Once your subscription is active, a "Provision my node" form appears.
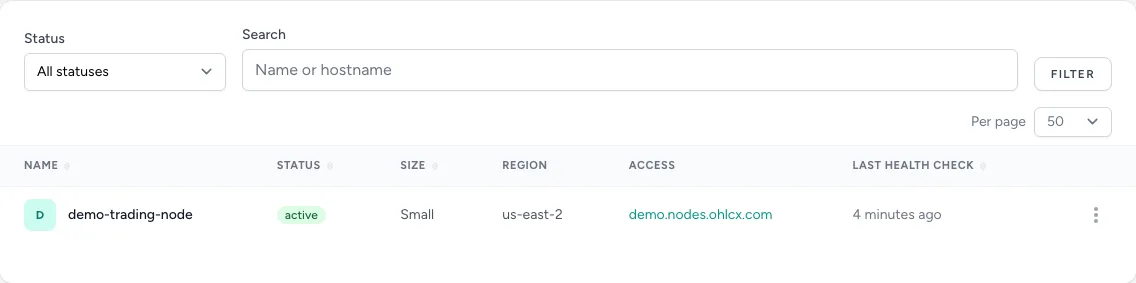
- Choose a size and region for your instance, and optionally set a custom subdomain (leave it blank for an auto-generated one).
- Review and confirm. You'll see a summary of exactly what's about to be provisioned before anything is created - double-check it, then confirm.
- Wait for it to come online. Provisioning takes a few minutes. Your node's status updates live as it moves through setup, ending at active.
Connecting Schwab's developer API
Your node trades through your own Schwab developer application - Schwab never shares your credentials with us, and your Client Key/Secret are stored only on your node.
- Create a Schwab Developer Portal account at developer.schwab.com if you don't already have one.
- Register a new app for trading API access under your developer account.
- Set the callback URL to the one shown on your own node's Settings tab - it's generated automatically as https://your-subdomain.nodes.ohlcx.com/td/callback, so there's nothing to type yourself.
- Submit your app for approval. Schwab reviews new developer app requests, which can take some time - this step happens entirely on Schwab's side.
- Copy your Client Key and Client Secret from the approved app in Schwab's developer dashboard.
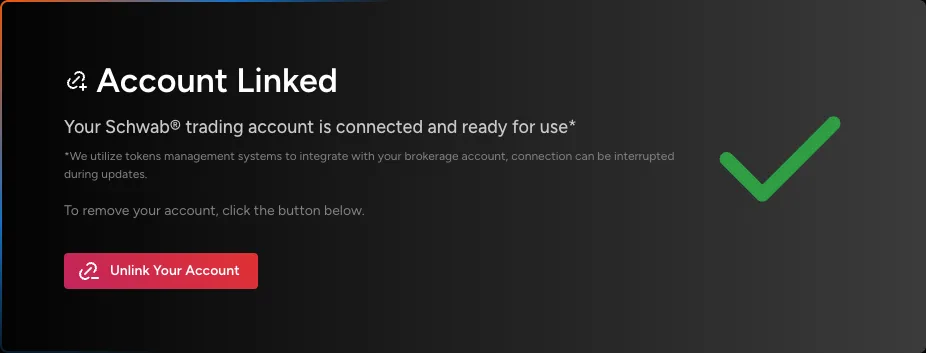
- Paste them into your node. Open your node's Settings tab, enter the Client Key and Client Secret under "Schwab API Connection," save, then click "Apply to live node" to push the change.
See "Connect Schwab in Settings" in the walkthrough video above for exactly where the Client Key/Secret fields live. Schwab's own portal changes over time, though - if anything above doesn't match what you see there, follow Schwab's current on-screen instructions as the source of truth.
Managing your node
Every node has its own detail page with three tabs:
Details
Size, region, hostname, IP, and health check status.
Settings
Your app name, Schwab API connection, and notification webhook.
History
A live log of everything that's happened to the node.
From the actions bar at the top of that page you can Stop, Start, or Terminate your node, force a Sync against its real AWS state, or Upgrade it to the latest platform version.
Ready to provision your node?
Subscribe, and your own AWS instance, database, and subdomain are created automatically - usually within minutes.
Disclaimer: OHLCX provides execution and order-management technology only. We are not a registered broker-dealer or investment adviser and do not provide investment advice, manage funds, or custody assets. Nothing on this page is a solicitation or recommendation to buy or sell any security. Information is for general informational purposes only and is not tailored investment advice. Trading securities and options involves substantial risk of loss; past performance is not indicative of future results. OHLCX Technologies LLC is not affiliated with, endorsed by, or sponsored by Charles Schwab & Co., Inc. Schwab is a trademark of its respective owner. Schwab's own developer portal and API may change without notice. See our full disclaimers for details.